|
0 Comments
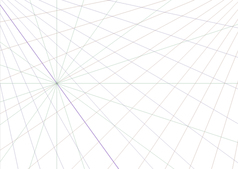
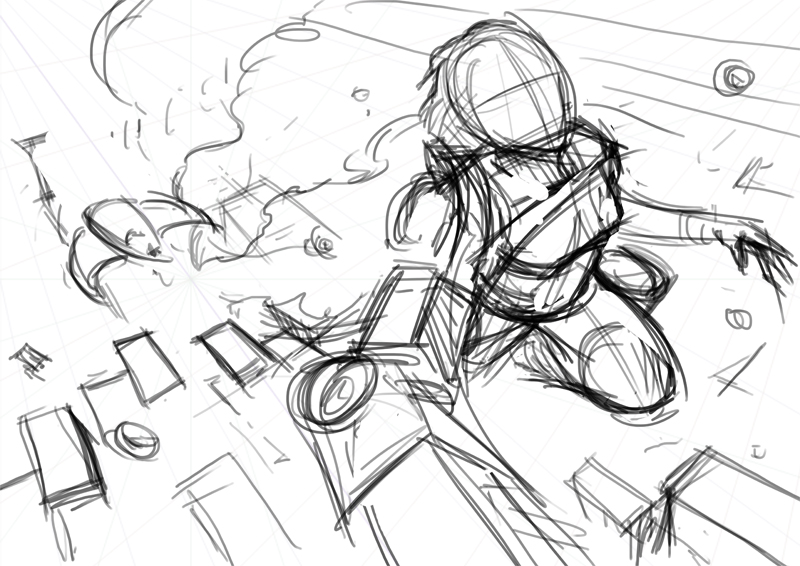
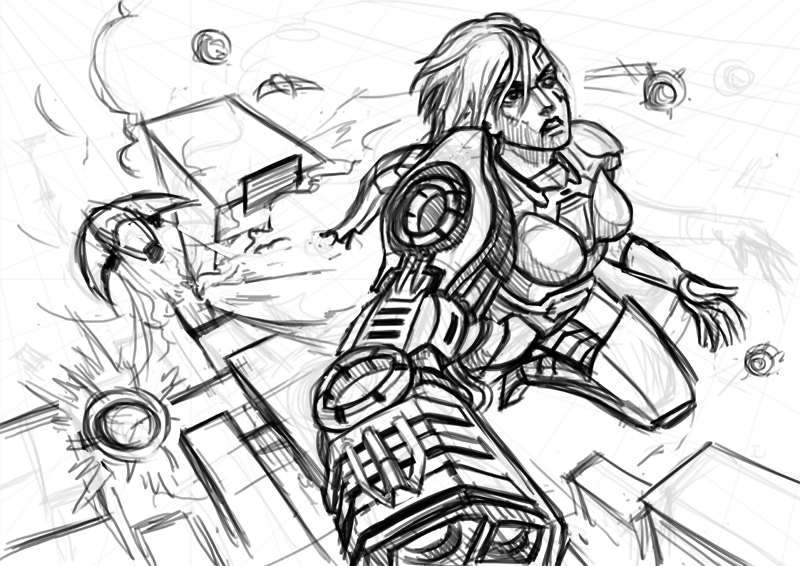
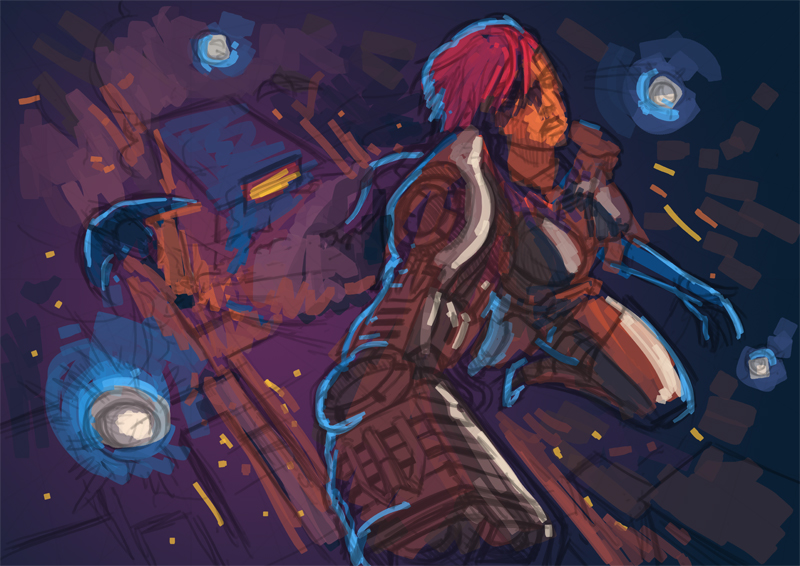
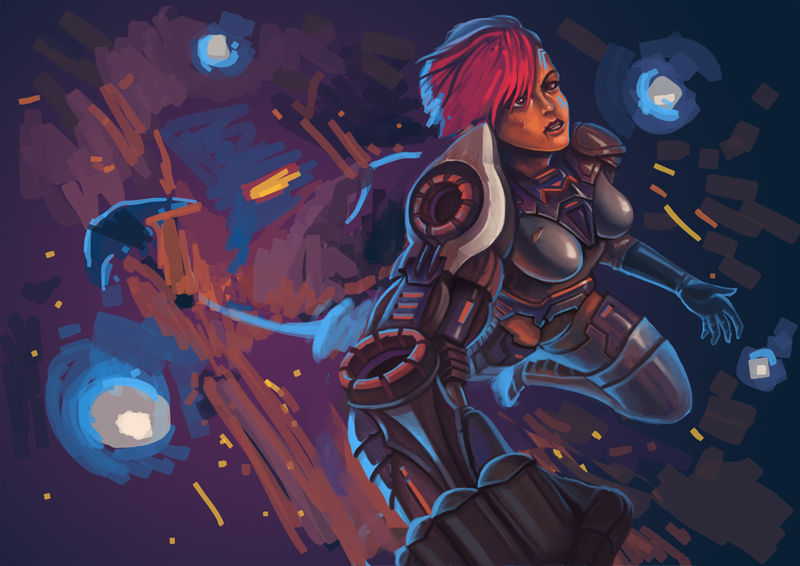
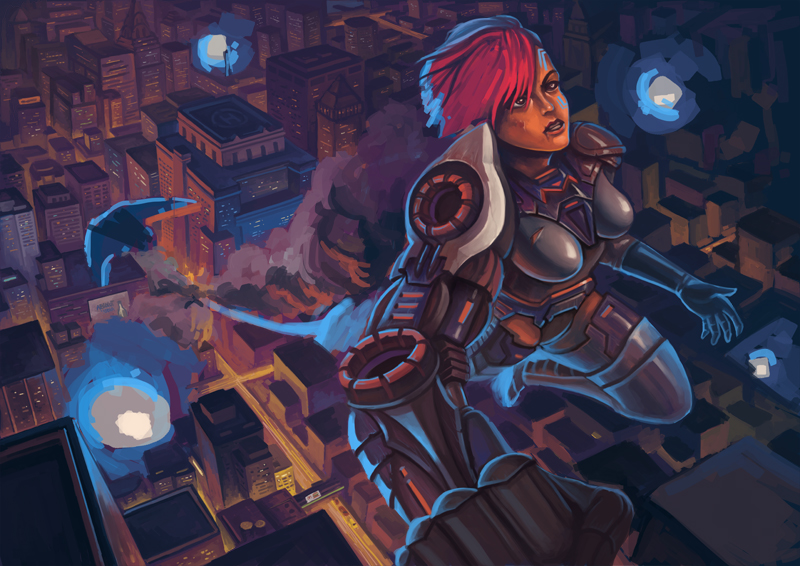
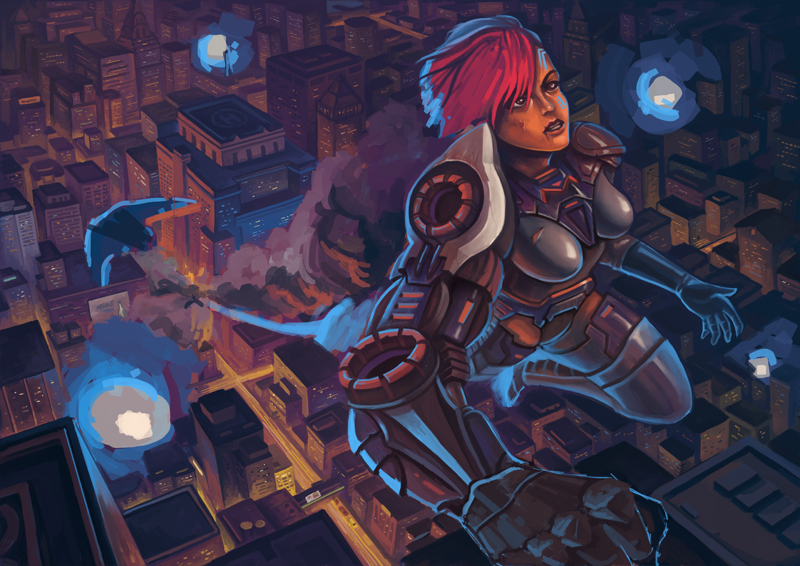
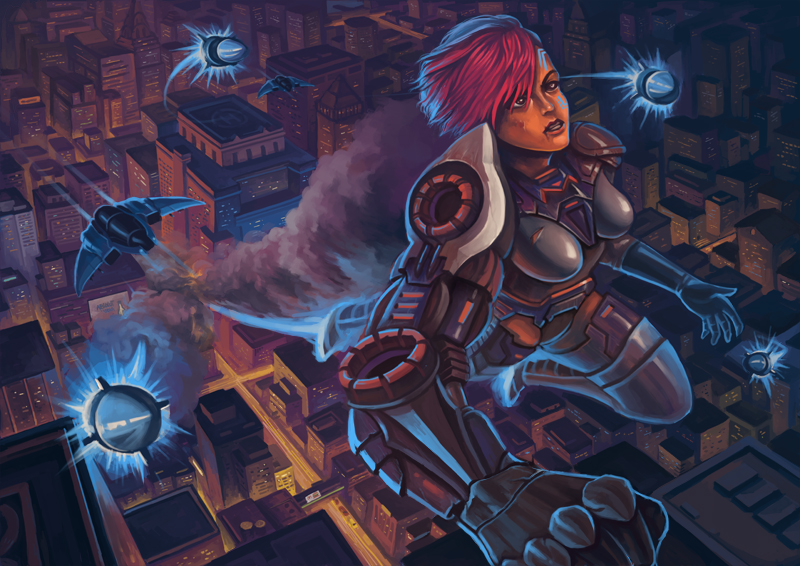
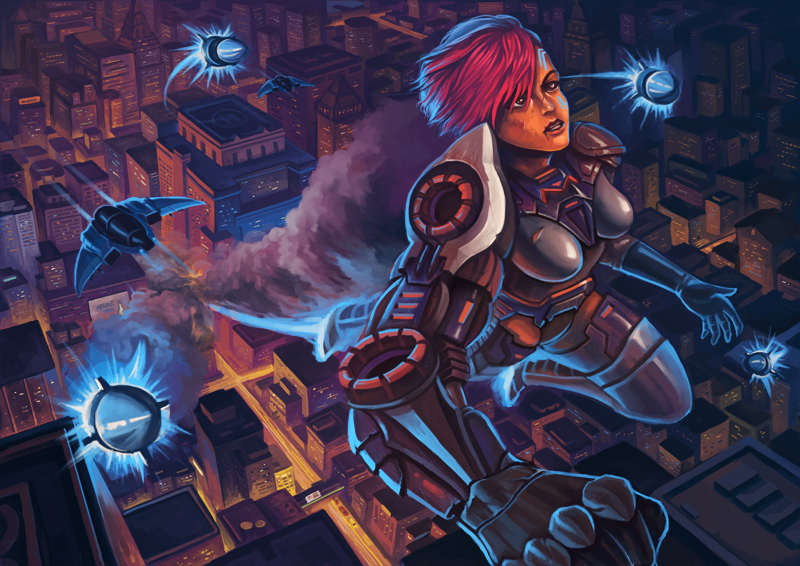
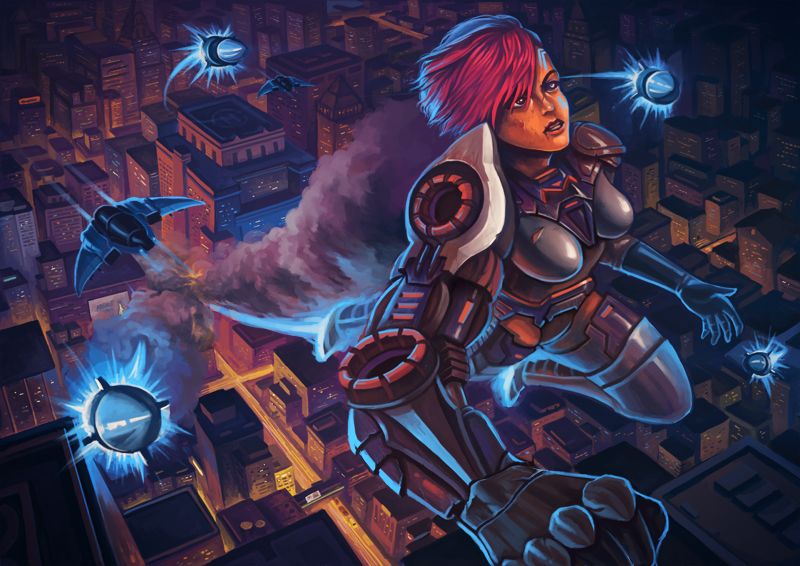
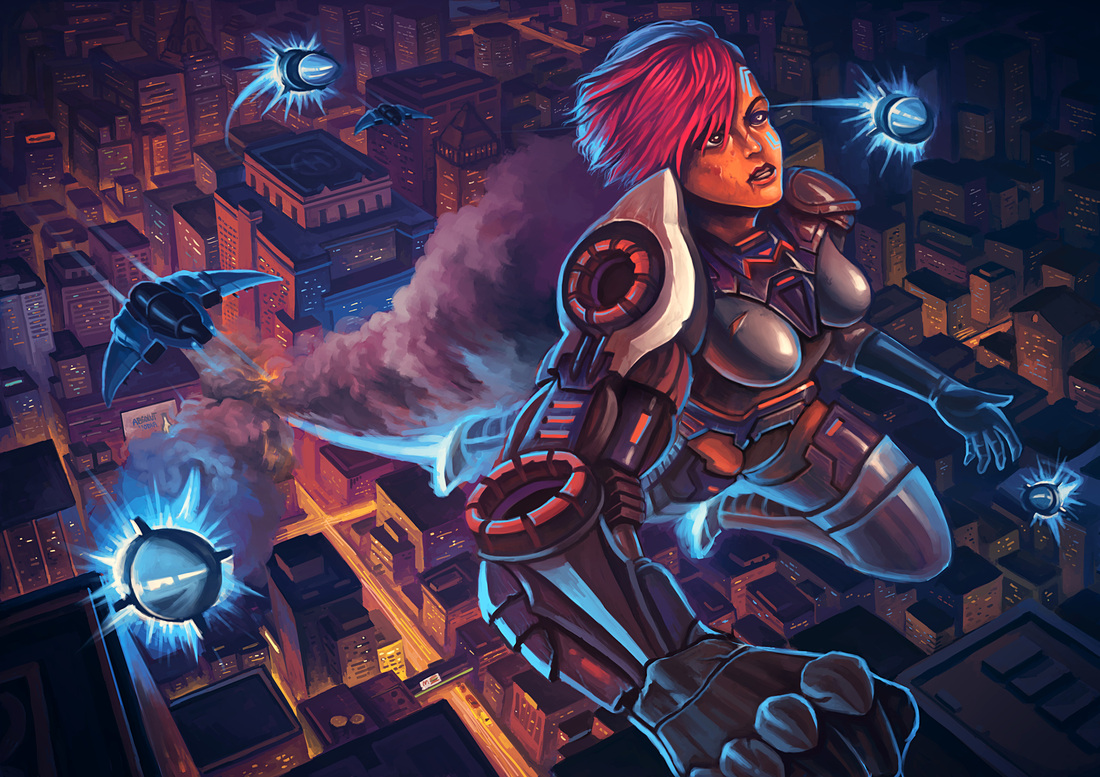
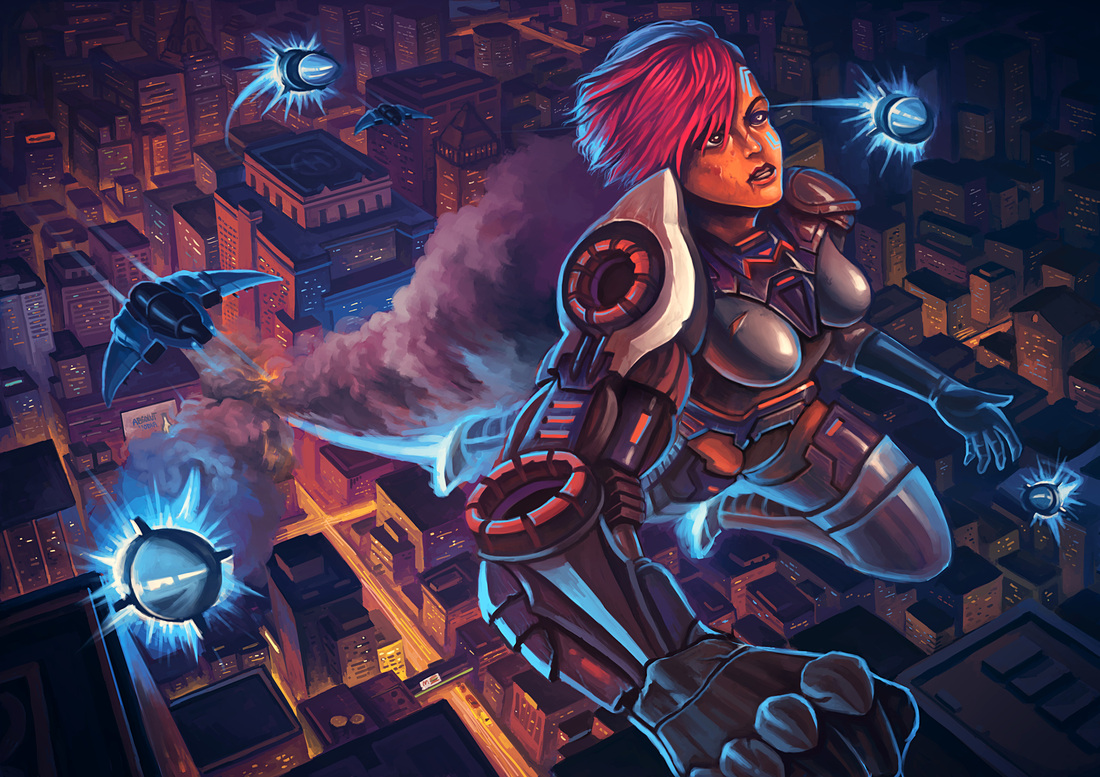
Here's a layer-by-layer breakdown of my new artwork. As this is a 3-point perspective illustration, I made use of Carapace to make sure the drawing is as accurate as possible. I made the decision very early on not to use photo plates as I would like to spend time painting, rather than distorting photos. I then move on and do a very loose drawing above the perspective grid that was generated. I then start to draw in more details, especially on the character. This is a crucial step to get right as it would save me time from worrying about the character design when I start painting. This is perhaps my favourite point of the painting, where I get to just throw color messily onto the canvas. It gives me a quick preview of the final look and I can make quick judgements on whether the colors are working or not. For this stage, I use a square hard brush set at 70% opacity. This makes the process faster as I will not be too focused on blending. Usually, I paint the background first, but for this one I decided to tackle the character as just thinking about the background gave me headaches. Sometimes it may be better to work on something first that will motivate you to complete the rest of the painting. She is painted with the no. 19 brush. Next, I filled in the background. I know that the character was the focus (and partly because I'm getting a little lazy too) so I simplified most of the buildings into simple cuboids. Used a square brush to get more chiselled corners. At this point in time, I realised that her right hand isn't working and decided to rework it. Next, the effects. Nothing special here, used the default PS chalk brush for the smoke. Added and refined the ships and detailed the hair. With that, the painting process is done. Using curves adjustment, I increased the contrast of the painting. Also added a little bit more damage on her face. And who can forget those lens flares? A vignette rounds off the painting and leads the viewer's eye back into the painting. And it's done! The last step was using color balance to bring up the skin tones. I prefer it over hue/saturation as it allows me to better control the color adjustments.
|
Archives
April 2023
Categories
All
|

 RSS Feed